Step-by-step guide for LivingDoc Generator
The LivingDoc Generator enables you to generate living documentation in HTML format with no external dependencies.
Step 1 - Installation
1- Setup the SpecFlow.Plus.LivingDoc Plugin for your SpecFlow project (if you have created the project using the SpecFlow Visual Studio project template, this dependency should already be there).
> Note: This plugin is only required if you want to generate living documentation with test results, otherwise you can skip this plugin installation and only install the command line tool below. In this example we will be generating LivingDoc with test results.
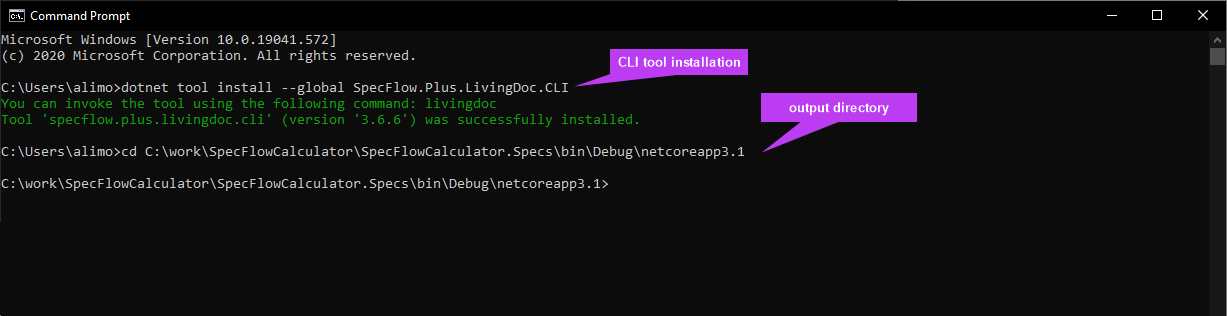
2- Next, open a command prompt and run the following command to install the CLI tool, this is a mandatory installation:
dotnet tool install --global SpecFlow.Plus.LivingDoc.CLI

Step 2 - Generate LivingDoc
1- Navigate to the path where your SpecFlow project is located. In this example, the solution was set up in the C:\work folder:
cd C:\work\SpecFlowCalculator\SpecFlowCalculator.Specs\bin\Debug\netcoreapp3.1
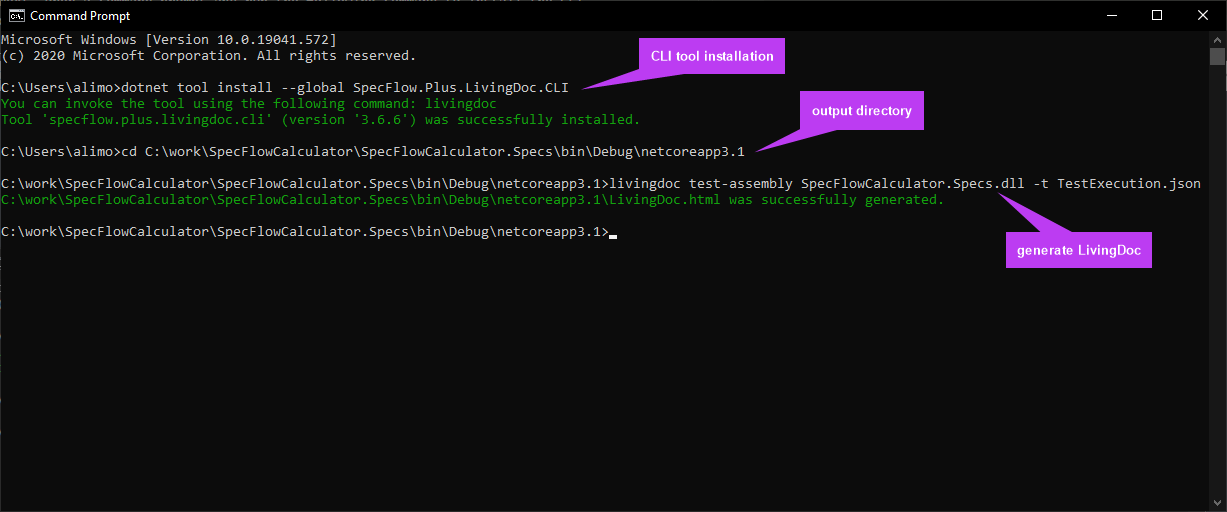
2- Now you can run the LivingDoc CLI by using the below command to generate the report.
livingdoc test-assembly SpecFlowCalculator.Specs.dll -t TestExecution.json
> Note: As mentioned in step 1 the TestExecution.json file is generated by installing the SpecFlow.Plus.LivingDoc Plugin for your SpecFlow project and holds the tests results. By default, TestExecution.json will be generated in the test assembly folder of your project when you execute your tests e.g.: SpecFlowCalculator.Specs\bin\Debug\netcoreapp3.1\TestExecution.json.
> Note: We are generating LivingDoc with test results here, hence why we are using the test-assembly command. Removing -t TestExecution.json part of the command will allow you to generate LivingDoc without test results. Check feature-data and feature-folder for alternative commands.
Step 3 - Viewing LivingDoc
1- The command-line tool will generate an HTML file titled LivingDoc.html in the same folder as the output directory of the SpecFlow project. You can manually navigate to this folder and open this file in your favorite browser or use the command-line tool to do it:
C:\work\SpecFlowCalculator\SpecFlowCalculator.Specs\bin\Debug\netcoreapp3.1\LivingDoc.html
> Note: Check here for more info on how to change the output directory of LivingDoc CLI tool.
Make sure you check out the Viewing LivingDoc & Test results sections to read about all the features and options you have here.
Here is sample LivingDoc file:
Sharing LivingDoc
One of the key usage scenarios of LivingDoc is to help teams collaborate and form a shared understanding in their development journey. Therefore, sharing the generated LivingDoc file plays an important role. The generated LivingDoc can easily be shared in numerous ways depending on your team’s current infrastructure setup and needs.
Please visit the Sharing & Publishing page for some ideas and options on how to share LivingDoc.