Add Living Documentation
⏲️ 5 minutes
In this step you’ll learn how to generate a living documentation from your test execution results so you can easily share them with your team.
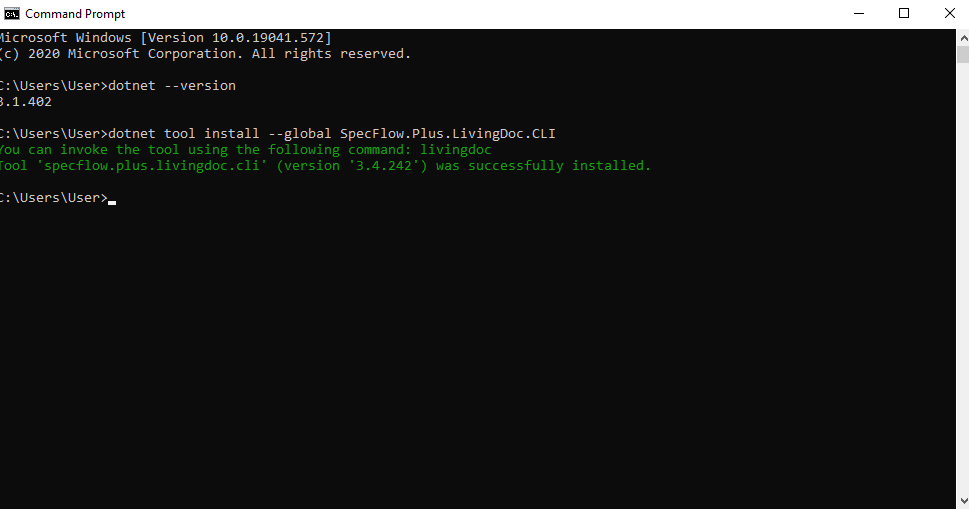
1- Open a Command Prompt.
2- Install the LivingDoc CLI as a global dotnet tool.
dotnet tool install --global SpecFlow.Plus.LivingDoc.CLI
3- Navigate to the output directory of the SpecFlow project. In this example the solution was setup in the C:\projects folder.
cd C:\projects\SpecFlowCalculator\SpecFlowCalculator.Specs\bin\Debug\netcoreapp3.1
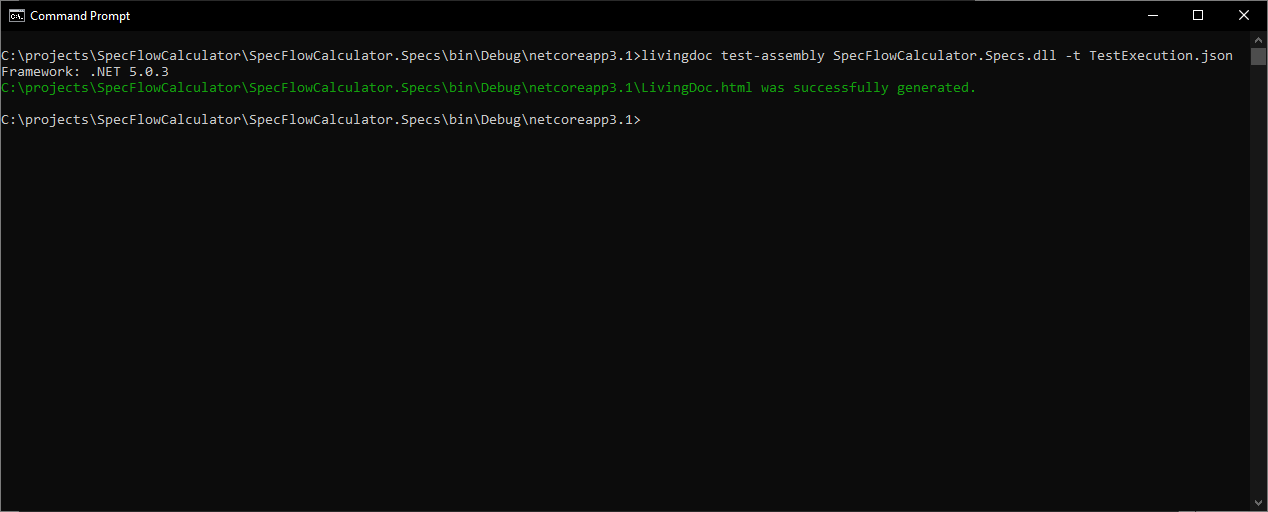
4- Run the LivingDoc CLI by using the below command to generate the HTML report.
livingdoc test-assembly SpecFlowCalculator.Specs.dll -t TestExecution.json
*Note if you run into issues here, e.g your JSON file name is FeatureData.JSON instead of TestExecution.JSON, this indicates you have an older version of the CLI tool. Please check our migration guide here to upgrade to the latest version.
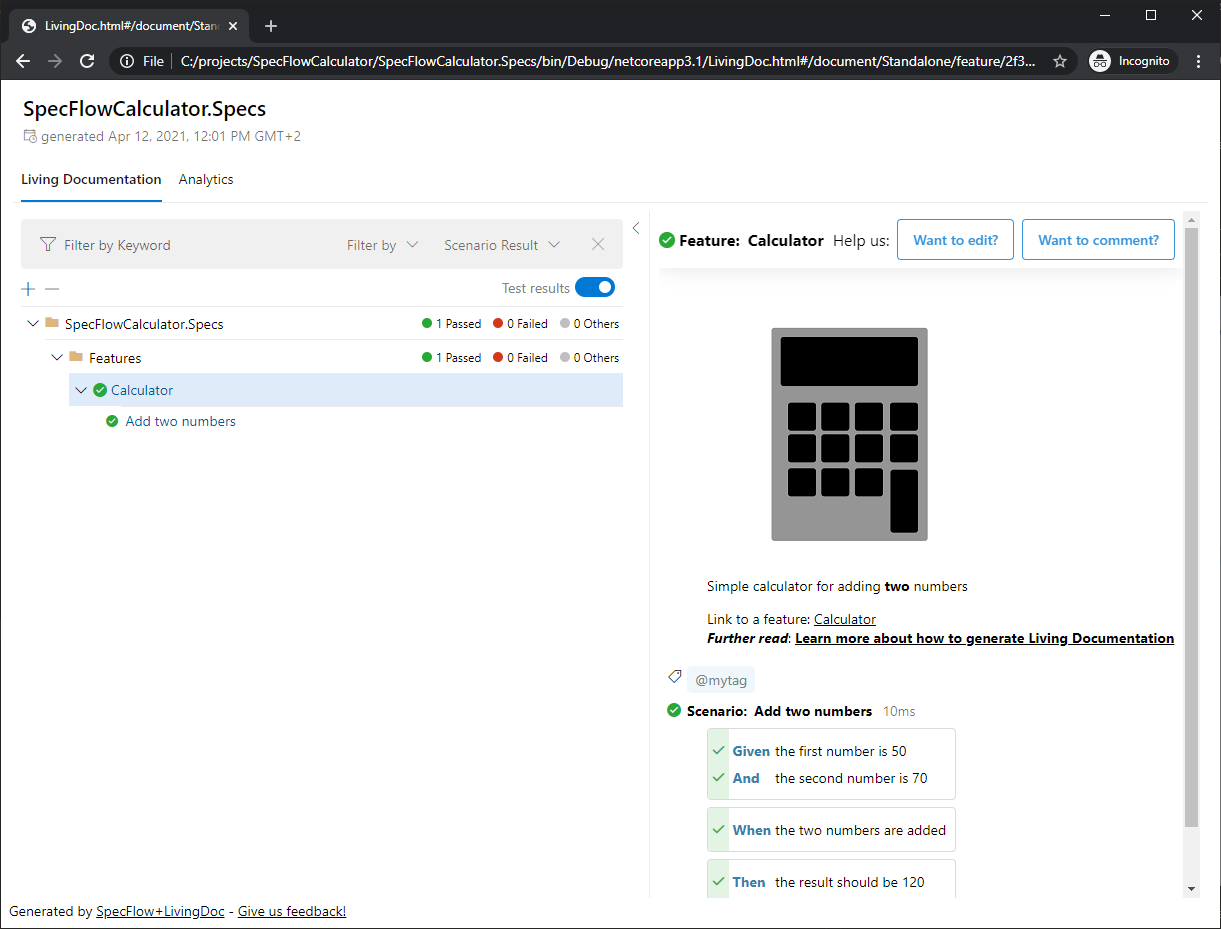
5- Open the generated HTML with your favorite browser. The HTML file is stored in the same folder as the output directory of the SpecFlow project.
C:\projects\SpecFlowCalculator\SpecFlowCalculator.Specs\bin\Debug\netcoreapp3.1\LivingDoc.html
Review the living documentation of the calculator features that you have implemented. Select the “Calculator” feature in the tree. On the right pane check the detailed description of the feature and the scenarios. You can also see the “green” test execution result of the scenarios and steps.
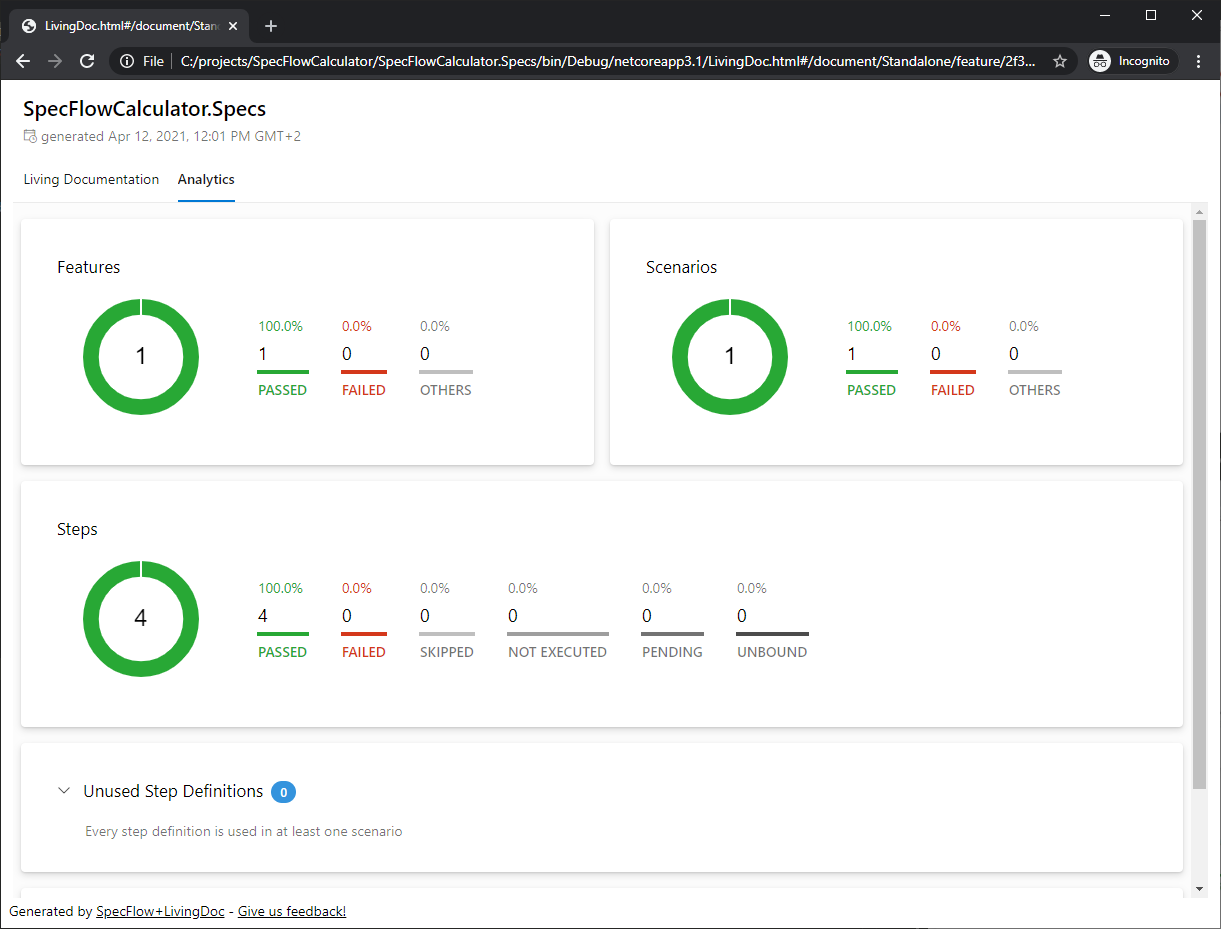
Check the test result summary by clicking on the “Analytics” tab:
SpecFlow+LivingDoc is packed with great features that truly bring your documentation to life! To read more about SpecFlow+LivingDoc and its features, please visit our LivingDoc documentation page.