Create SpecFlow project
⏲️ 5 minutes
In this step you’ll create a SpecFlow project and add it to the existing calculator solution.
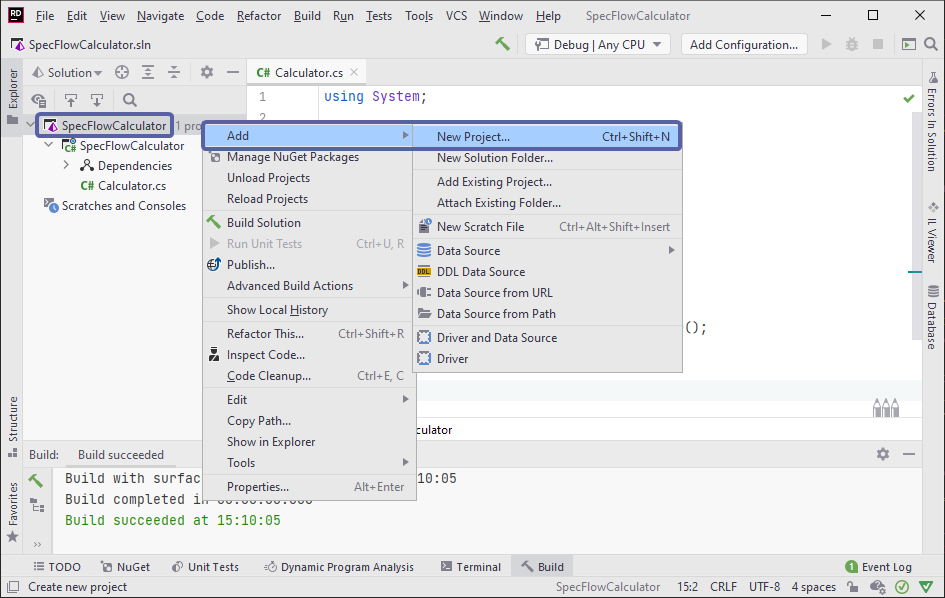
1- Right-click the solution item “’SpecFlowCalculator’(1 of 1 project)” under the Solution Explorer and select the “Add ➡ New Project” menu item.

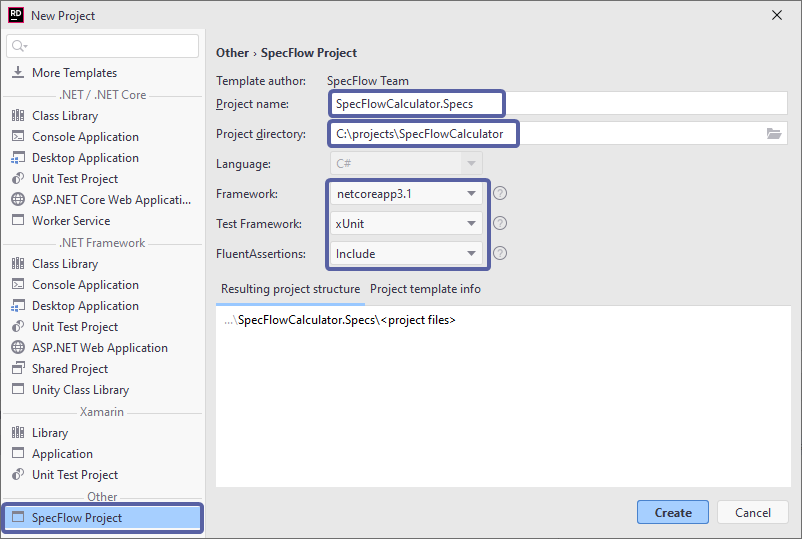
2- Click on SpecFlow Project Template under the Other category, enter the project name as “SpecFlowCalculator.Specs”, keep the suggested location (the solution folder), pick xUnit as the Test Framework and hit Create:
Note: If you cannot see SpecFlow Project Template, ensure you have SpecFlow for Rider Plugin 1.6.0 or higher installed. (Only compatible with Rider 2021.1 or higher)
Note: Currently running the tests from the feature files is only possible with xUnit and NUnit.*

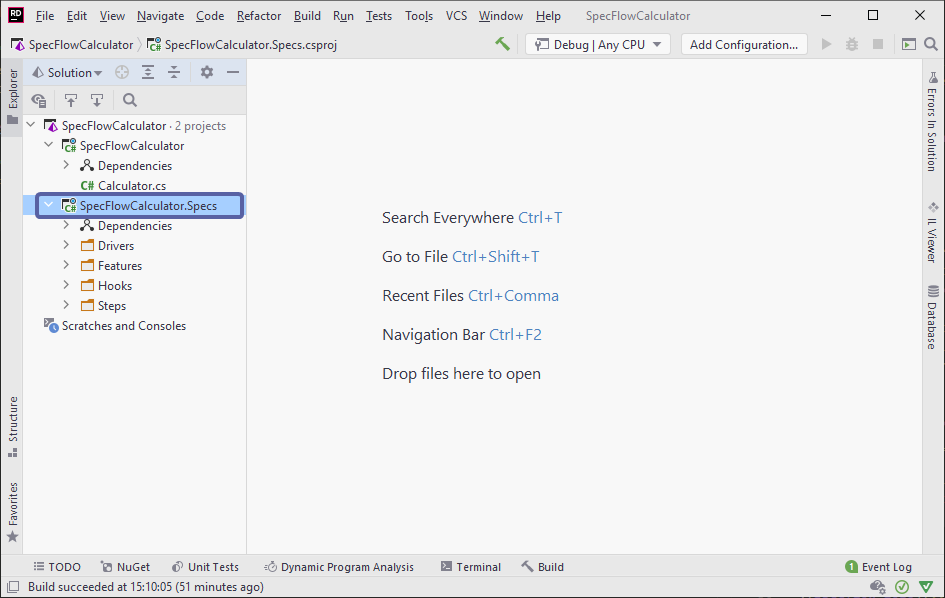
3- JetBrains Rider will now create the new project, you should see the new SpecFlow project in the Solution Explorer as per below:

📄 In the next step you will learn how to add a project reference and how to use the test explorer.