Create SpecFlow project
⏲️ 5 minutes
In this step you’ll create a SpecFlow project and add it to the existing calculator solution:
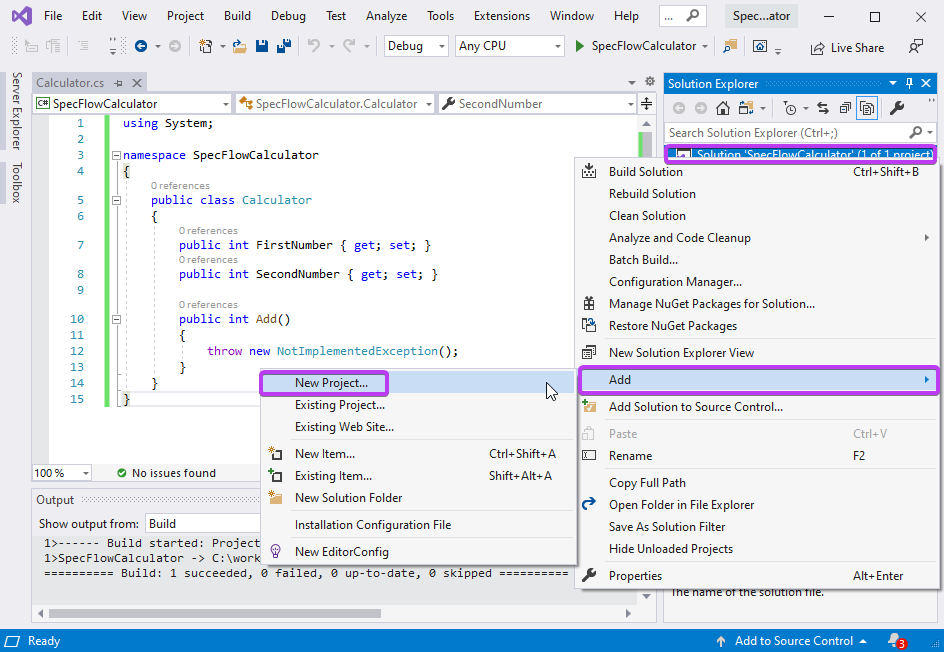
1- Right-click the solution item “Solution ‘SpecFlowCalculator’ (1 of 1 project)” under the Solution Explorer and select the “Add ➡ New Project…” menu item.
2- Search for “SpecFlow”, select the “SpecFlow Project” template and click Next.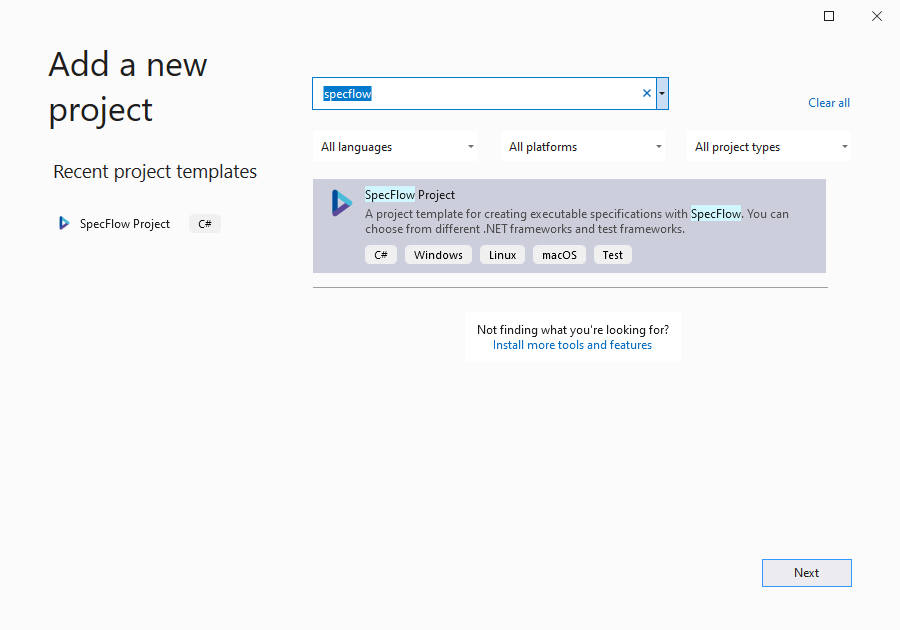
3- Enter the project name “SpecFlowCalculator.Specs”. Keep the suggested location (the solution folder) and click Create.
> Note: Do NOT use any special characters in your project name e.g. (parenthesis). This will result in build errors from the code generated by SpecFlow.
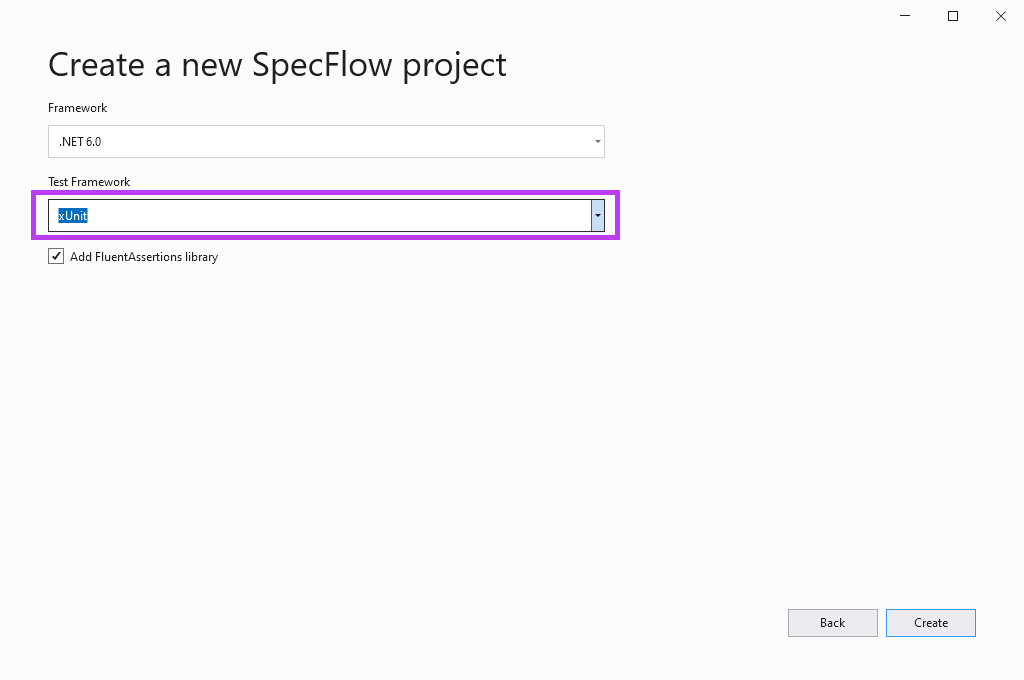
4- On this next screen you can configure the Test Framework (Runner) you want to use. We are using xUnit in this tutorial, but you may choose a different unit test runner if you a have particular preference. Hit Create once you have made your selection.
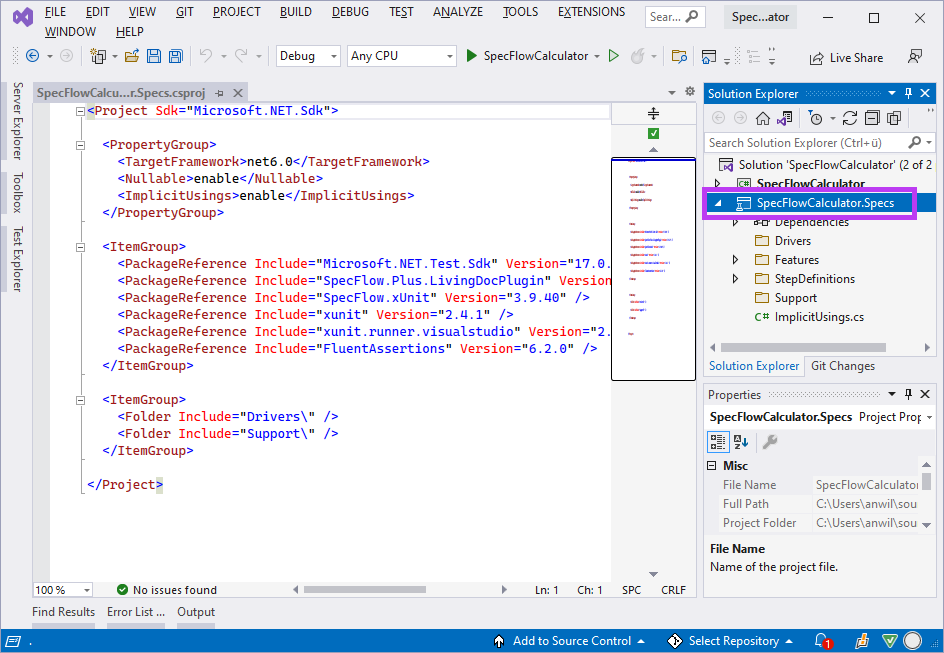
5- Visual Studio will now create the new SpecFlow project and resolve the NuGet packages in the background. You should see the new SpecFlow project in the Solution Explorer as per below:
📄 In the next step you will learn how to add a project reference and how to use the test explorer.