Create calculator project
⏲️ 10 minutes
In this step you’ll create the application that will be tested, also called System Under Test (SUT). The application will be a simple calculator in a C# class library.
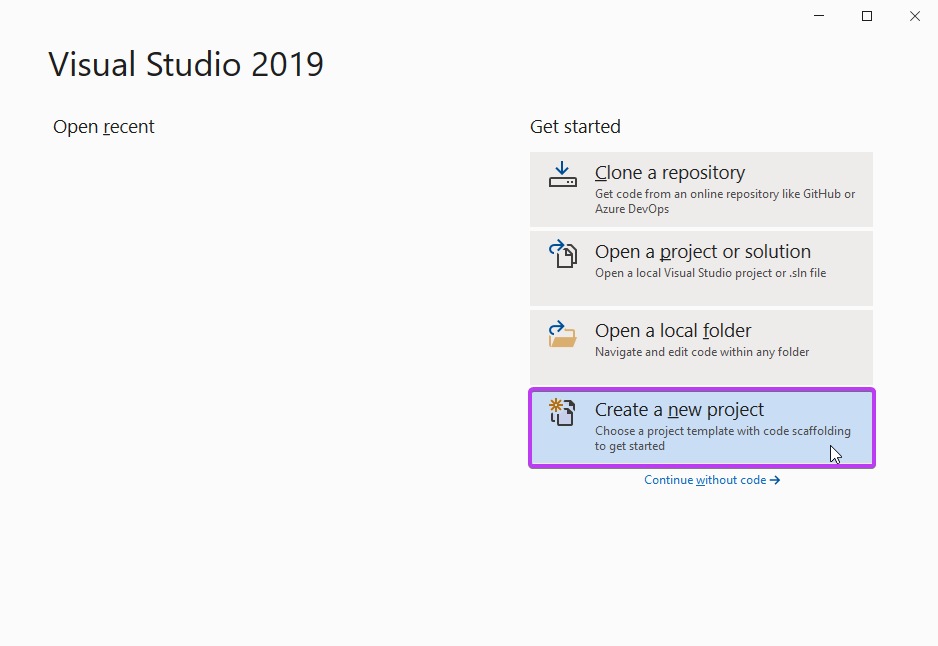
1- Open Visual Studio and create a new C# class library by selecting “Create a new project” from the Visual Studio startup dialog:
2- Search for “Class library core” and select the “C# Class Library (.NET Core)” project template and click Next.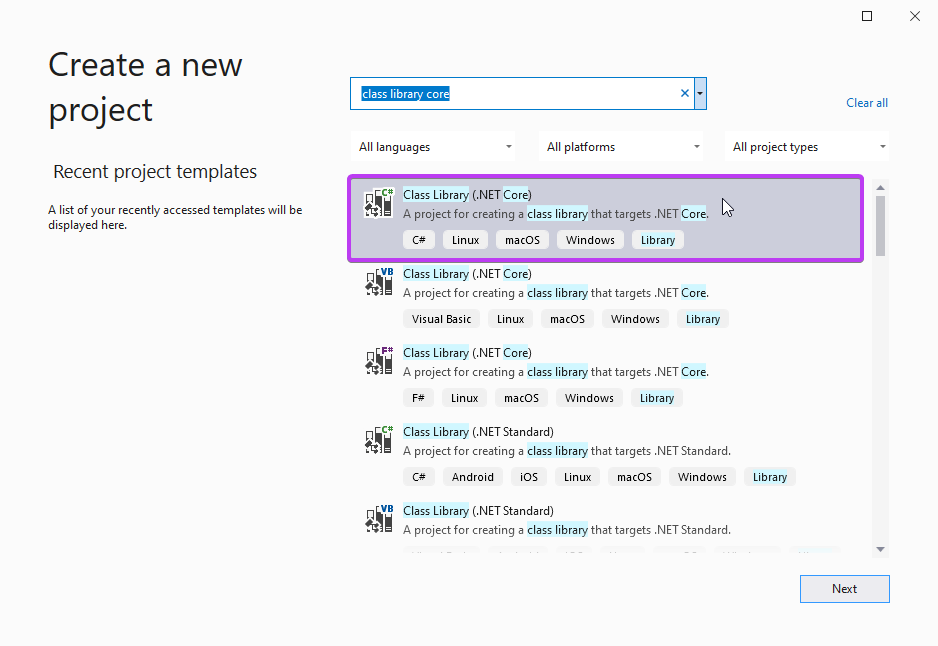
3- Enter the project name as “SpecFlowCalculator”, choose a location to save the project and hit Create. In this scenario the solution will be saved to C:\work.
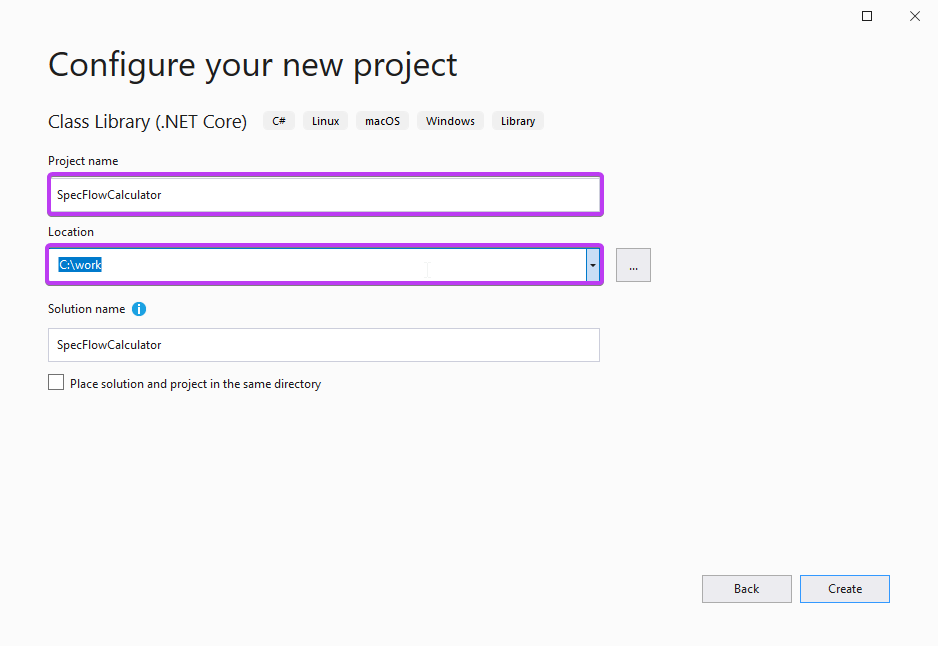
> Note: Do NOT use any special characters in your project name e.g. (parenthesis). This will result in build errors from the code generated by SpecFlow.
*Solution name automatically updates to project name, leave it as is.
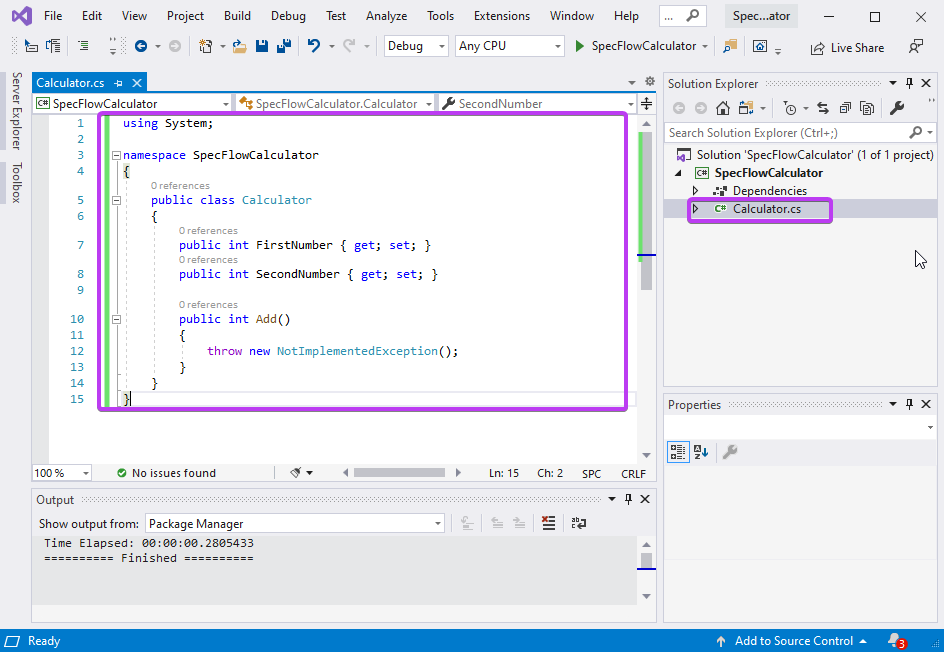
4- Rename Class1.cs to Calculator.cs and overwrite the content with the following code :
using System;

namespace SpecFlowCalculator
{
    public class Calculator
    {
        public int FirstNumber { get; set; }
        public int SecondNumber { get; set; }

        public int Add()
        {
            throw new NotImplementedException();
        }
    }
}
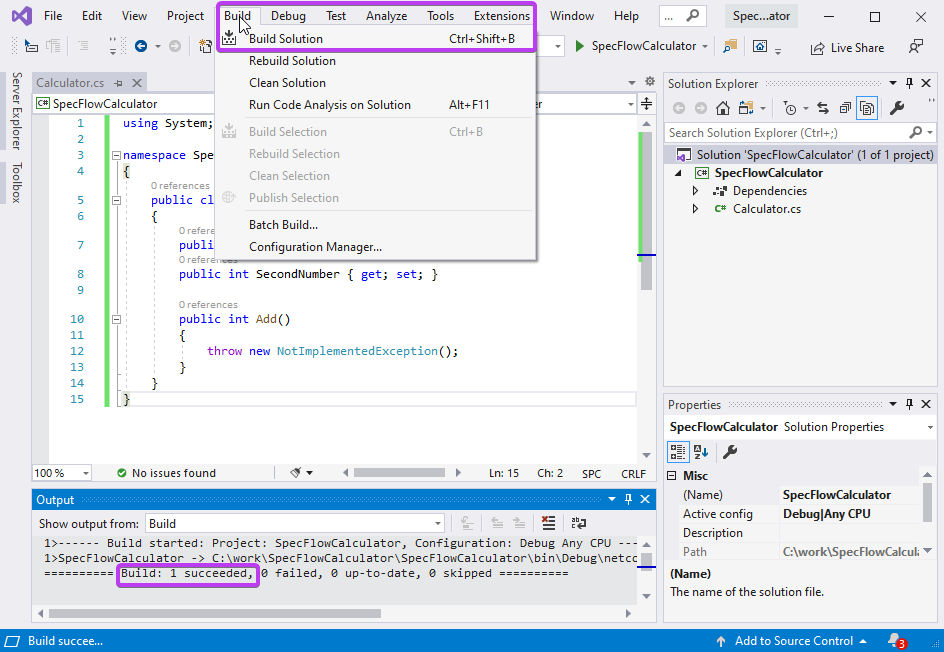
5- Now build the solution by navigating to “Build ➡ Build Solution” You will see a “Build : 1 Succeeded” message in the output window:
📄 The calculator application is now built. In the next step you’ll learn how to create a SpecFlow project.